If there are two things I really don't like doing in regard to housework, it's sanding and painting. Guess what the majority of my house projects have been this past year or so? Yep. Sanding and painting. But this time, I tried a different approach. I now have an air compressor and a brad nailer/stapler, so I decided to take all the trim off and sand/paint it, then reattach it later.

It actually has been a relatively simple process (just time consuming). As usual, I watched a bunch of YouTube videos on the subject, then went to work. I bought an inexpensive pry bar from Menards (local hardware store chain), and while we were watching TV one night, went around the room, prying off baseboards and removing nails.
The trick is to first get your bar under the trim and lift up - that will pull the trim away from the wall enough to slide the flat end in there. Then you push it down as far as possible, and rock the bar back and forth gently. If it is getting stuck on the carpet, put the bar back under the bottom of the trim and push it up.
I like to use the curved end once it fits, because it seems like it is better for pushing out the bottom portion of the baseboard. Then I removed the nails from the boards and the walls. There are a couple holes on the pry bar that make for perfect spots to brace the pliers when you pull out the nails.

Anyway, once those were all removed, I replaced them until I was ready to paint. The baseboards were actually relatively simple. The hard part was all the door and window frames I didn't remove. I figured out that there are exactly 26 window/door frames in my house. I decided that I hated painting, and wanted to come up with a better way to do it.
Turns out, there is a great product called Bulls Eye 1-2-3 primer. It says you don't need to sand or degloss at all, but I still lightly sanded any big bumps away. Let me tell you, it sticks
great. I did two coats of primer (only need to dry an hour between coats) with a brush, then a coat of enamel semi-gloss (and another light coat for touch-up) using a roller that I used like a squeegee to help avoid brush marks (the paint said not to thin it). With the second batch of trim, I actually used a paint conditioner, which I think helped get a better finish.
After I finished most of the frames, I moved the baseboards into the garage piece by piece, marking the backs so I would remember where to replace them when I was done, then going through the same painting process as the frames. It's much easier to paint a horizontal surface, by the way. I wish I was spraying it on, but it still went okay.
After I got everything painted, I took it back inside and matched it up on the correct walls. I sanded or cut off any drips on the sides/backs so everything would line up properly, and went about reattaching it to the walls with 18-gauge brad nails. It took a few times of messing up to get the right pressure and technique on the nailer so I didn't have to pound in tiny nails with a hammer and nailset tool.
 |
| After |
 |
| Before |
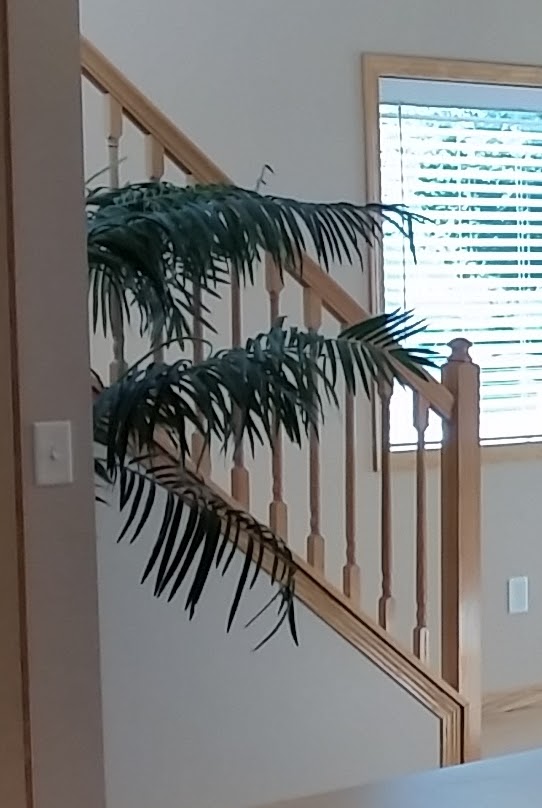
One thing that was weird was that along the stairwell, there was a piece of (different) trim all along it. I didn't think anything of it before, but after I removed it, I wondered why they had done it that way. It looked bizarre, and it wasn't the same as the other side of the banister (stair-side). So instead of putting it back, I replaced it with some shoe rail. I'm planning on staining it the same color as the banister (same as the cabinets).
 |
| Baseboards don't line up with the floor |
The house originally had carpet in the downstairs living room / dining room, but was replaced with hard floor at some point, so this was a good opportunity to lower the baseboards to match the floor. Then it was a matter of carefully caulking top (and bottom for the hard floor), allowing extra time to mess up of course, filling and sanding nail holes, then touch up painting everything.
 |
| Painted baseboard caulked along the floor |
This post probably seems really long, but trust me - doing this trim took longer. I legitimately took a year to do this. I would do 2-3 door frames one weekend, then nothing on it for a while, then more door frames, then a window, then I took off part of the trim, then painted it, then more trim, then painted, etc. etc. If I ever do this again, I will take everything (including door frames) off the walls and spray them. I will not hand paint anything except for touching up.

 It actually has been a relatively simple process (just time consuming). As usual, I watched a bunch of YouTube videos on the subject, then went to work. I bought an inexpensive pry bar from Menards (local hardware store chain), and while we were watching TV one night, went around the room, prying off baseboards and removing nails.
 Anyway, once those were all removed, I replaced them until I was ready to paint. The baseboards were actually relatively simple. The hard part was all the door and window frames I didn't remove. I figured out that there are exactly 26 window/door frames in my house. I decided that I hated painting, and wanted to come up with a better way to do it.


2 comments:
Was there a reason for using a brush on the primer instead of a roller?
I tried using a roller originally. It was difficult to get the top part, because it kept snagging. The back of the trim is unfinished (and rough because I ripped the original nails out of it), and it would get caught on stuff and tear the foam roller. So I'd have to switch to a brush anyway. It made it easier to just use a brush the whole time.
Post a Comment