
As I was putting up the first frame, I realized that what only sort of bothered me before really bothered me now: the lights. If you read my previous lighting posts, you'll know that when I replaced the lighting fixtures in the master bathroom, I had an issue with them being too close to the side walls and ended up having to move them. Well, they were also a little too low. The new orientation of the lights (sconces hanging down), in combination with the frame, made it more apparent that they were too close to the mirror. This was amplified in the upstairs bathroom, where I couldn't even get the frame in place with the light fixture as low as it was.
So I decided to move all the lights up higher. It was a great decision, because it looks so much better. I cut new holes, reinstalled the boxes, drywalled/mudded/sanded/textured/primed and painted, and then put the lights back in. Only thing I would do differently would be to get new boxes (remodel electrical boxes) that go in easier into drywall, without the need for studs/wood to screw into. That would have sped up the process. But once that portion was done, I could finish all the mirrors - and here are the steps to do that:
Step one: Measure the mirrors and buy appropriate amount of MDF trim molding (like what you use for baseboards in your house). I opted for pre-primed trim, so I could just spray paint them with an enamel paint and be good to go.
Step two: Measure and cut pieces with 45-degree miters, then spray paint and let dry (make sure to also paint at least the inside part of the back of the pieces, as the mirror with reflect the inside edge).
Step three: Put the bottom pieces up against the mirror to mark where the clips are, then use a utility knife to notch out spaces for the clips (so the trim piece sits flush on the mirror).
Step four: Use white construction adhesive on the back of the trim, being careful to try and focus on the middle/outer edges, so it won't be visible when it's pressed against the mirror. Then adhere it in place.
Step five: Repeat step four with the two side pieces, making sure to check that the pieces are plumb (i.e. like level, but for vertical pieces).
Step six: Repeat steps three and four for the top piece.
I would also recommend that if you do this, you make the frame a little taller on top, so the top of the frame reaches the top of the mirror clips. When all done, you can caulk along the edges if the frame has an exposed edge.
 |
| Where the lights were previously (no frame around the mirror) |
 |
| Post-frame, but before I raised the lights - you can see how they overlap the mirror frame |
 |
| After raising up the lights, it looks more open |
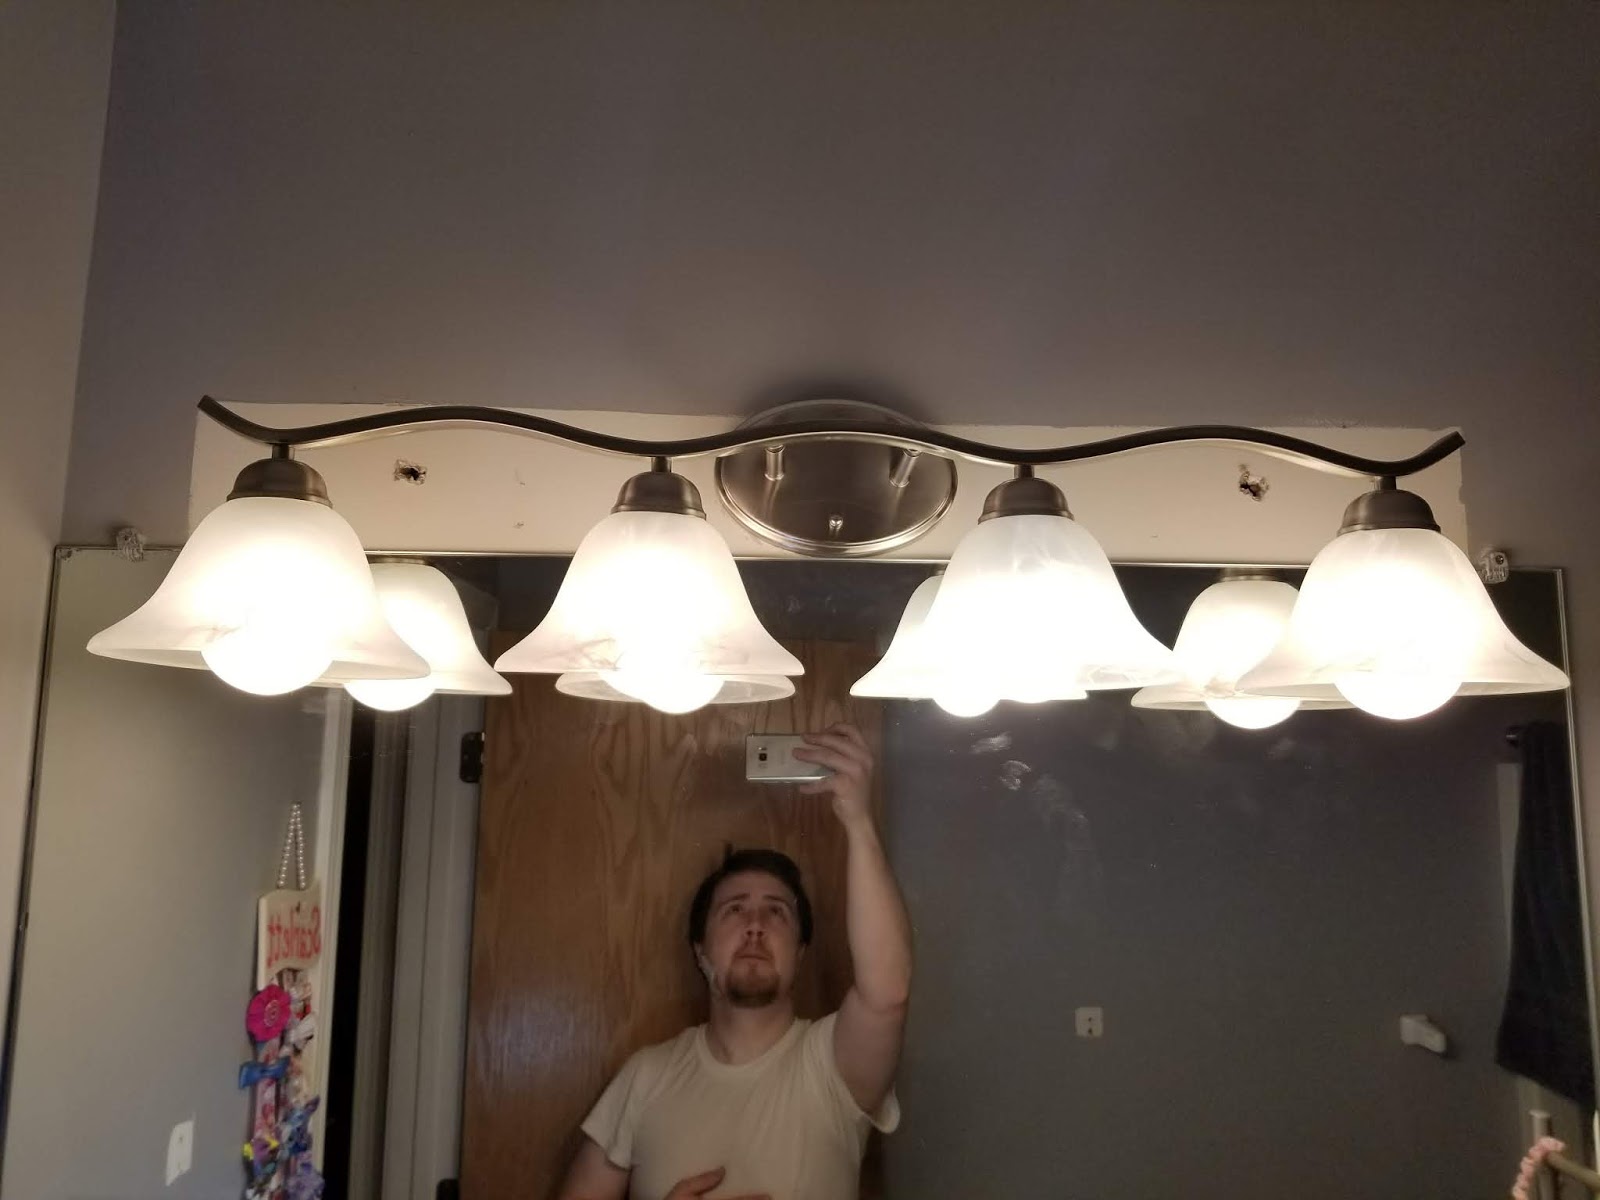 |
| Back when I originally swapped out the lights in the upstairs bathroom: see how the light fixture is touching the top of the mirror |
 |
| Now having installed the frame, with the lights at a better height |
1 comment:
This looks so good!
Post a Comment